How to make a patchwork stocking with step by step video and template
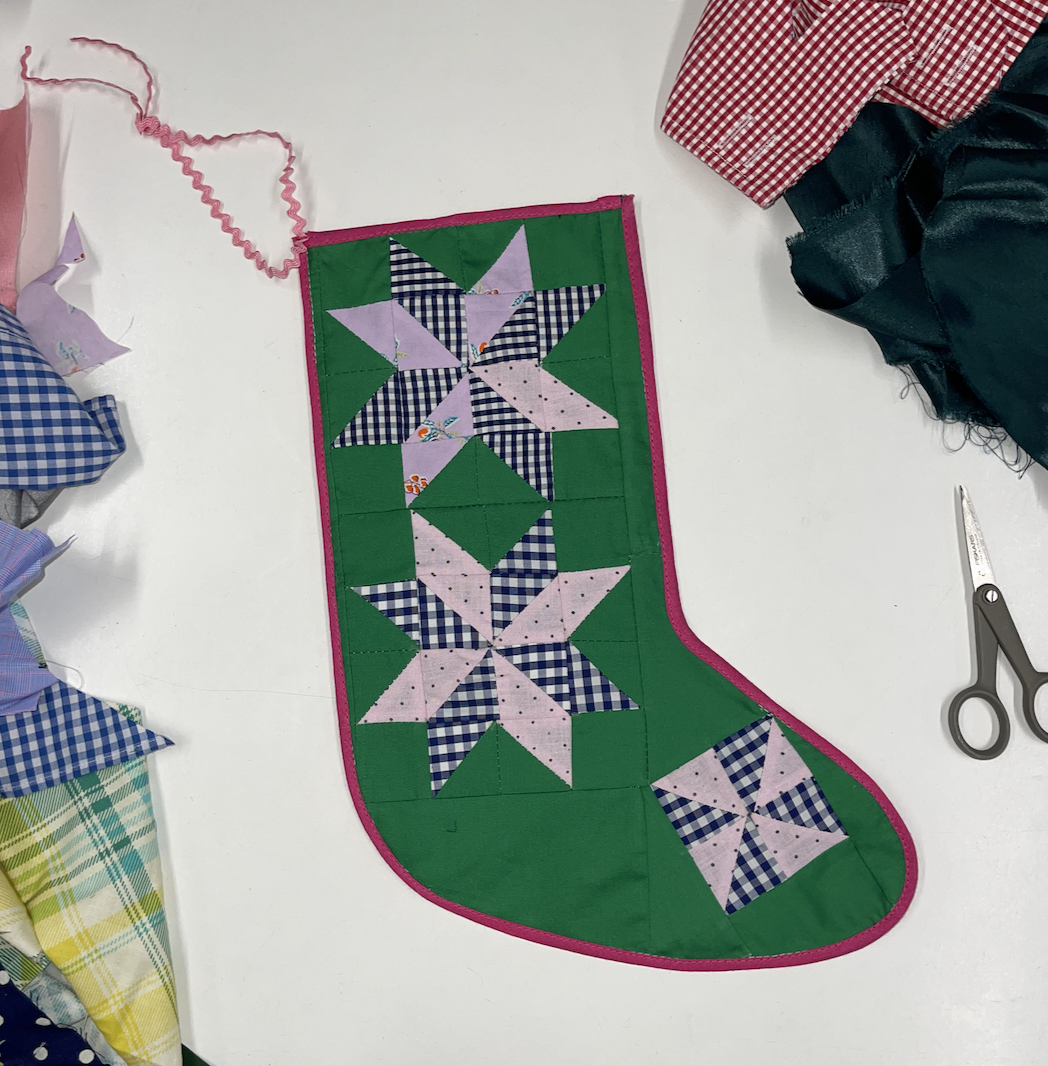
This is the perfect project for using up small pieces and scraps! It was also the first time I tried to do a proper quilting technique (I usually do a more abstract patchwork!) and I enjoyed learning how to make the quilted star more than I thought!
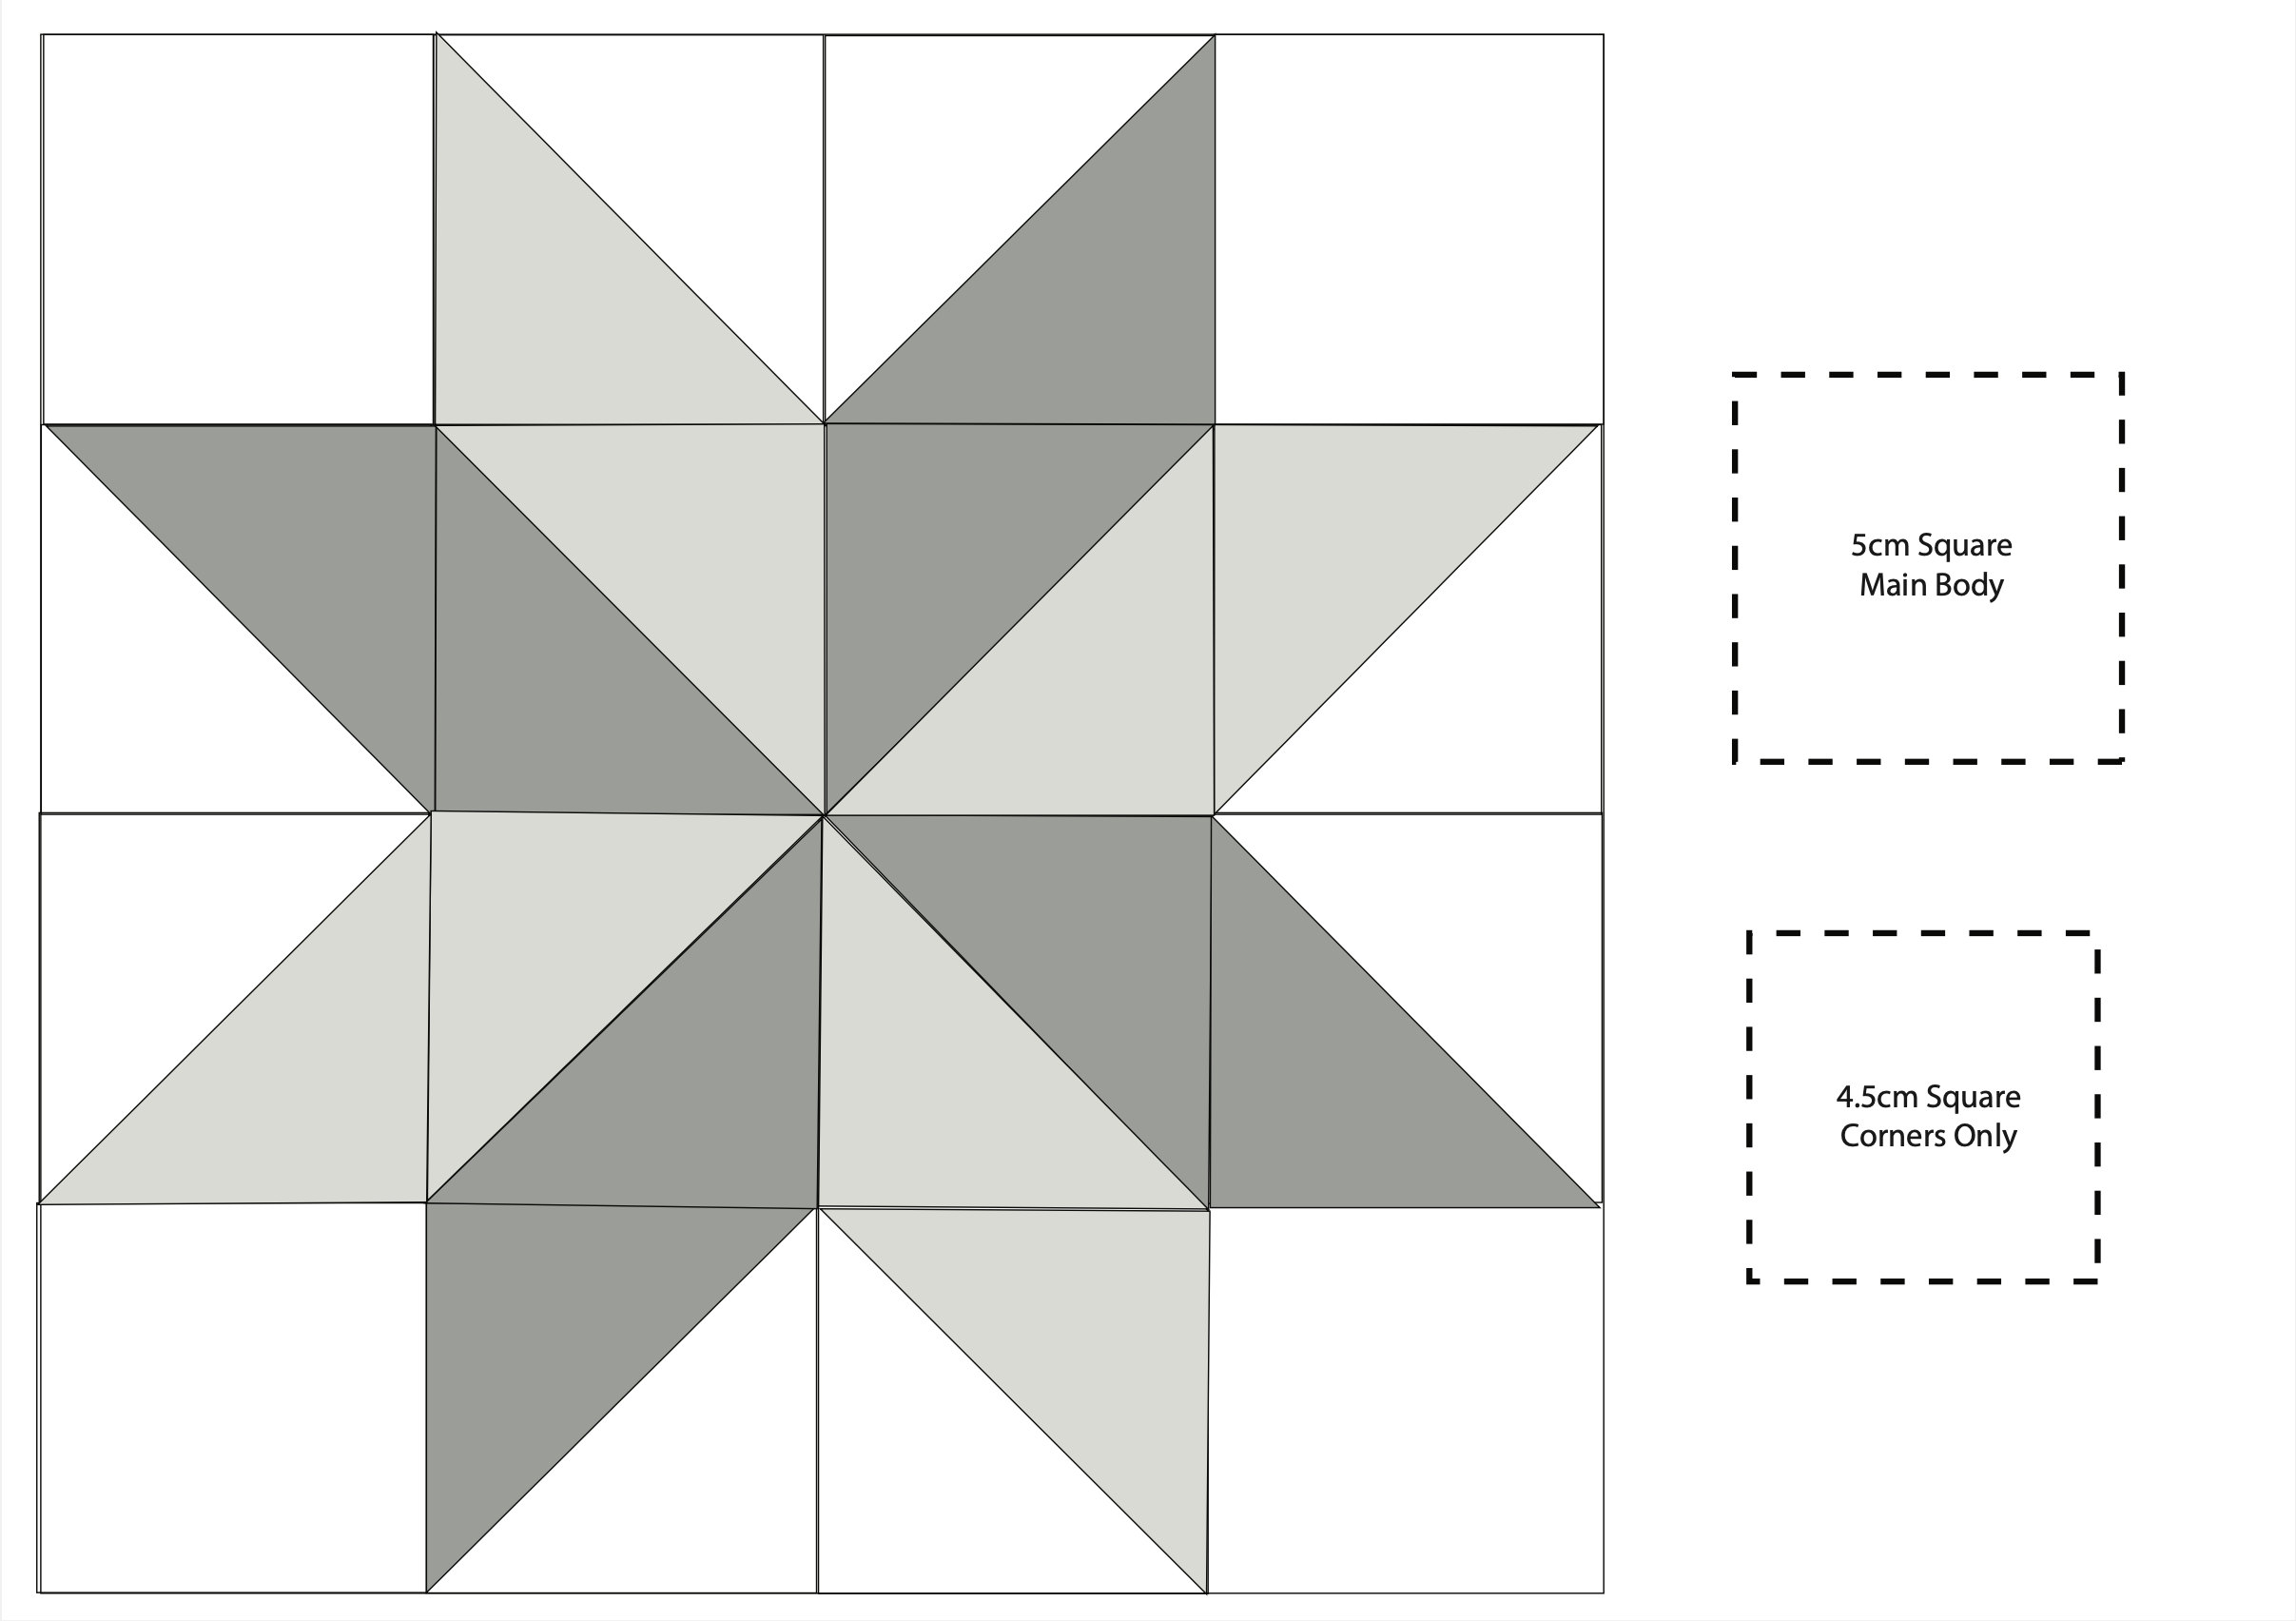
I’ve created a star template you can screenshot - the first star I made without the template and if you get a few pairs mixed up, it can be really hard to find how it fits together so hopefully the template will save you from this!
Enjoy!!! Comment if you have any questions and send me a pic if you make one xxxxx
You’ll need:
Fabric scraps & fabric for lining
Scissors
Pins
Ribbon to hang
Binding (premade or self made)
Steps:
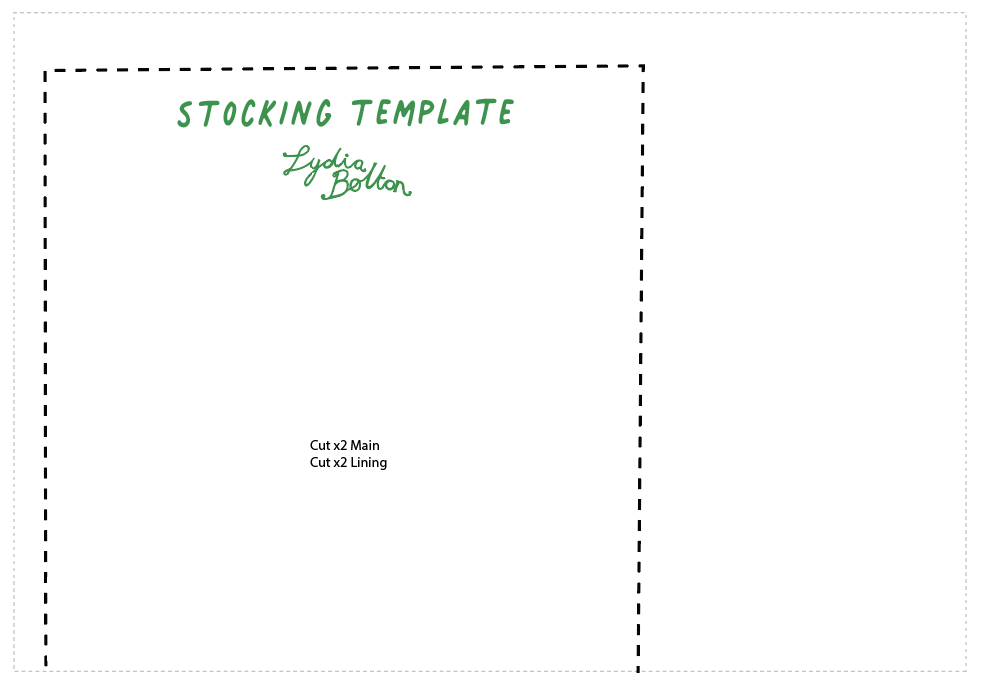
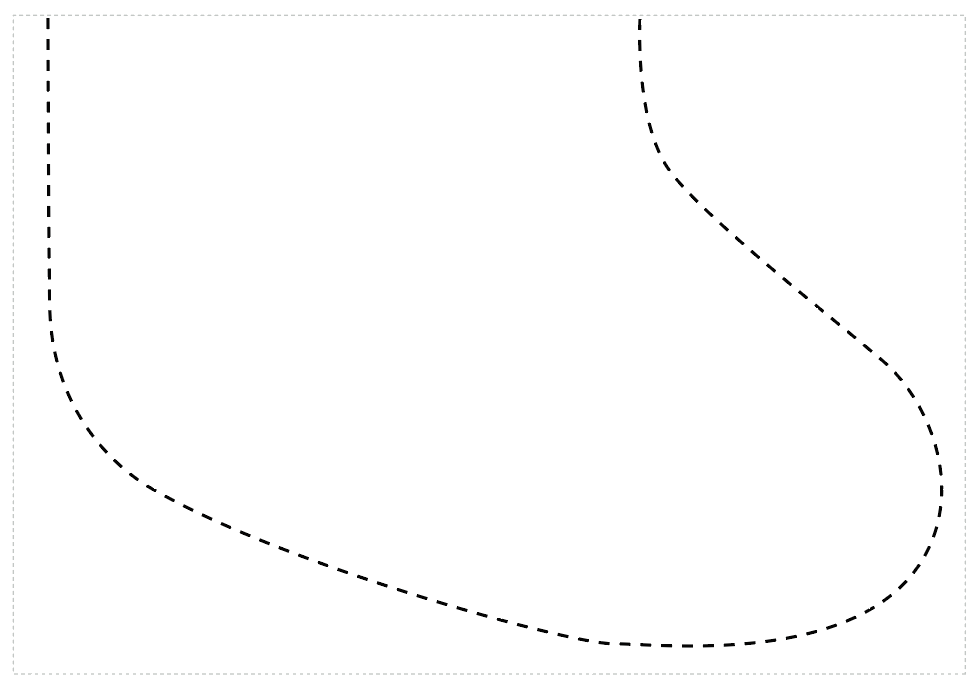
Print out the templates for the stocking and star guide. The star is made up of 5cm squares so measure the square to make sure it’s printed at the correct size (it should be 100% on A4 but you may need to double check!)
Cut x4 5cm squares in fabric 1 and x4 5cm squares in fabric 2
Cut these in half on the diagonal to make triangles
Using the star guide, place the triangle ontop of the paper
Using your background colour (mine was green) cut out x4 5cm squares, cut along the diagonal and place on the guide (See vid for visual references)
Cut x4 4.5cm squares for the corner pieces
Turn the triangles into squares by folding the right sides together and stitching along the edge at 0.25cm (width of the foot)
Press this seam open and continue to stitch all the triangles together. Once I’d stitch a couple together, I placed them back on the start guide so I didnt forget where each on went.
When all the triangles are stitch into squares, join these together to make one piece. I did this by stitching the squares into one long row and then I stitched the rows together to make the large square
Repeat this so you have 2 stars
Make a mini star for the front of the stocking (you can use your star guide to work out how to do this)
Place the stars onto the stocking pattern to see how much extra fabric you need to patchwork around to fill the shape. I do this fairly randomly and free hand cut the shapes in my background colour until the stocking is roughly covered.
Using the stocking pattern, cut it out correctly
For the other side, I cut out the stocking shape (making sure its a mirror of the front) and free cut stars which I appliqued on using topstitching
Cut out a pair of linings
Pin the lining to the outside of the stocking (WRONG sides together)
Place the stockings together (Linings facing each other, main side facing out) and pin around the edge.
Take some binding and stitch this around the edge of the stocking
Bind around the opening
Stitch on a ribbon to hang
Finished!!