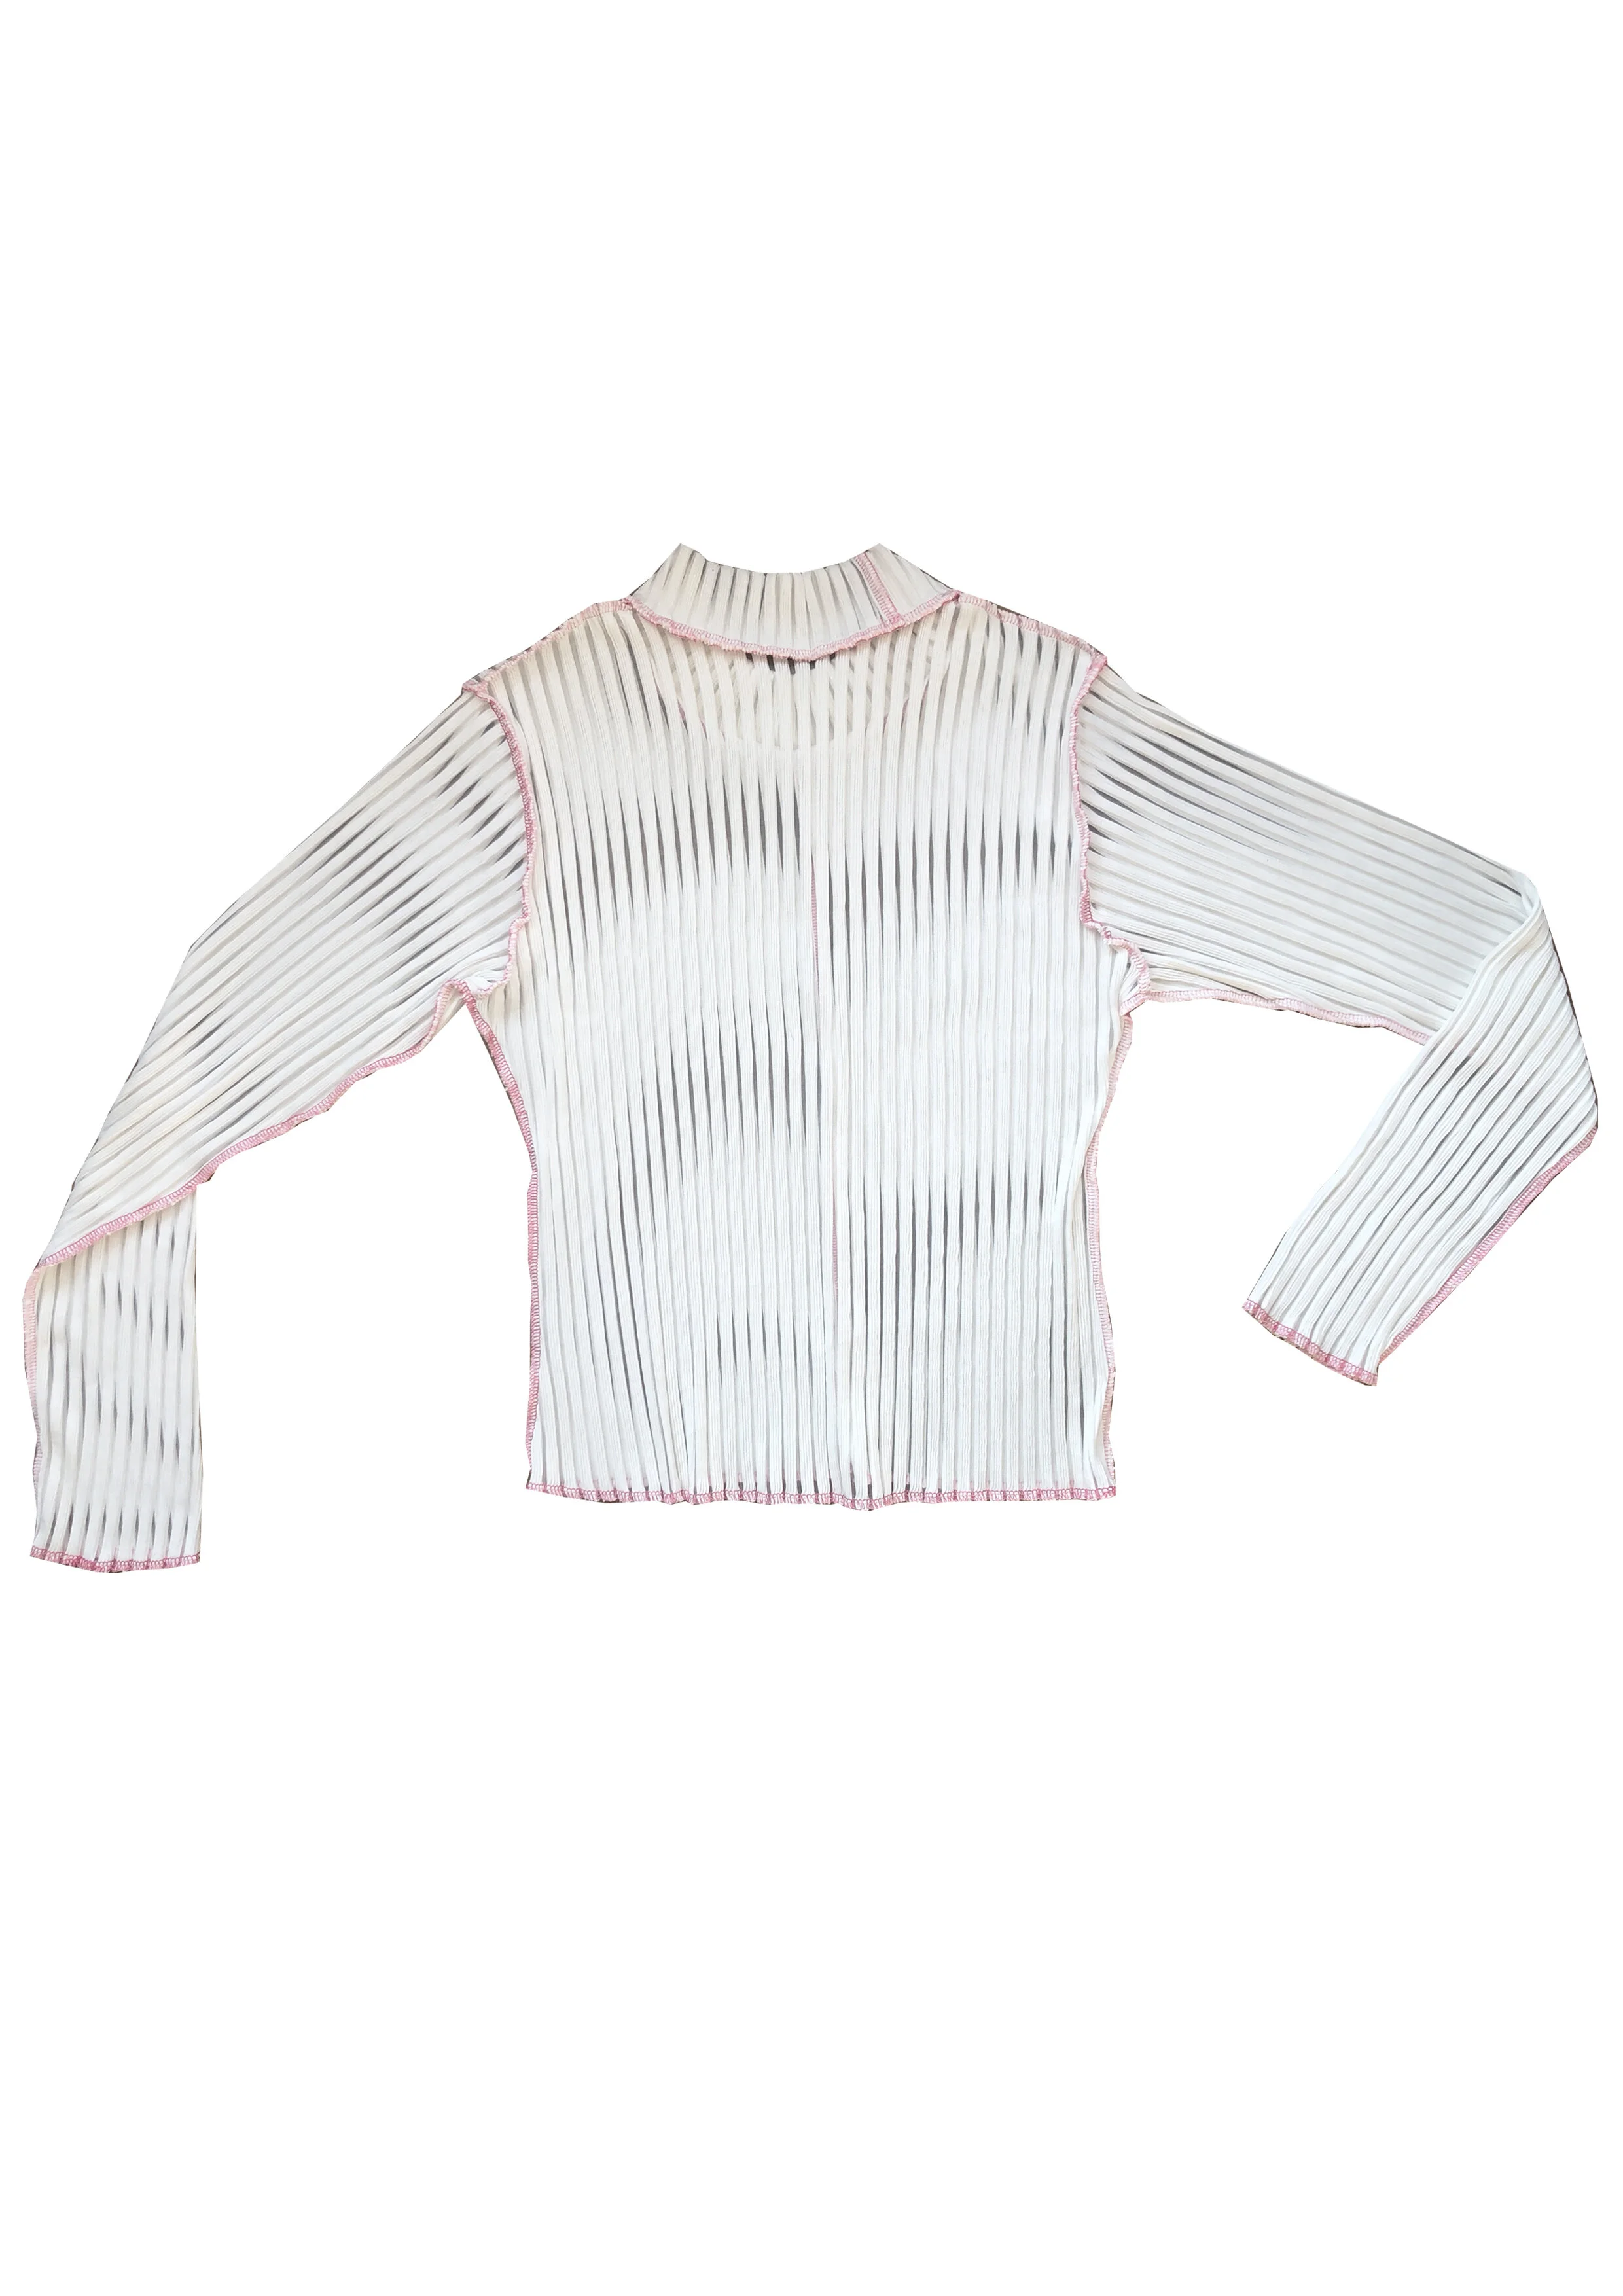
DIY: How To Make A Polo Neck Top

Learn how to make your own white polo neck jumper

Step One:
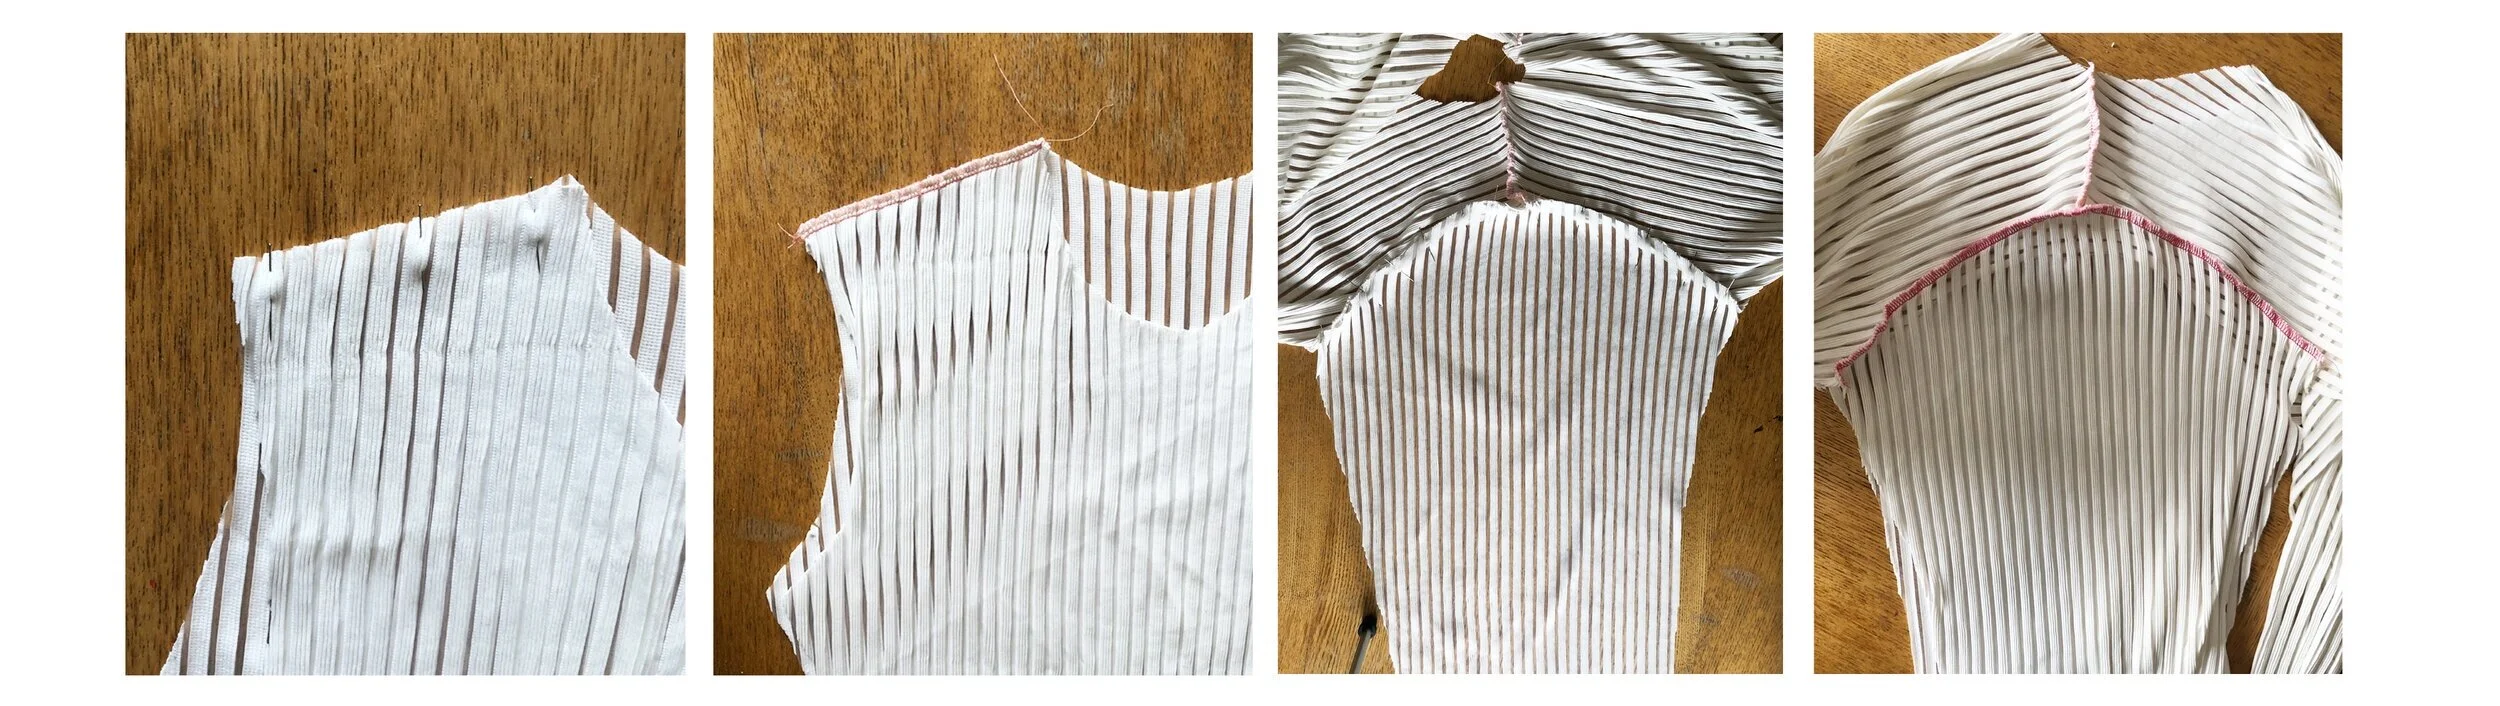
Place the front panel on top of the back panel, pin across the shoulders and stitch these two layers together. If you are hand stitching click here to learn how to do blanket stitch. If you are using a domestic machine, you could use a a zig zig stitch to create the overlock effect or if you are using an overlocker - remember to remove the pins before you reach the blade. As the fabric is stretchy, make sure when you are sewing that you are not pulling/stretching the fabric as this will distort the shape.
STEP TWO:
Once the shoulder seams are stitched, lay the front and back panel out flat so you have a the full curve of the shoulder seam. Get your sleeve and pin the curve of the sleeve head into the concave armhole. This bit can be tricky as you may need to ease the curves to fit together. The front of the sleeve and the front of the top have a single notch (small cut into the fabric) and the back sleeve and back of the top have a double notch. Match these notches to make sure the sleeve it fitting in correctly. Use lots of pins and once pinned, you can stitch this together

STEP THREE:
Now the sleeve is stitch in, fold the sleeve in half and the front of the top on top of the back and pin along the under arm of the sleeve and the side seams of the top. Sew this together and then basic shape of the top it done! Try the top on and see how it fits - my top was a little big so I stitched down the centre of the top to make it 1cm smaller. If you want to do this, pin the front of the top in half and stitch 0.5 down the centre of the top to make it a bit smaller.
Step FOUR:
Now we need to add the collar. If you have made the top smaller, you need to make the collar the same amount smaller (trim off 1cm from one end). Make the collar a circular piece by pinning the ends together and stitching. When its a tube, fold the collar in half and pin the collar around the neck line of the top. To make sure the collar fits nicely, fold the collar in half and put a pin in each fold to identify the half way points. Match these points with the half way points of the neckline. Pinning the collar can be a bit tricky so use lots of pins and make sure the collar is spread out evenly around the neckline. When pinned, stitch around.
STEP FIVE:
Finish off the raw edges (if you want to) by stitching around them either with the zig zag stitch on your machine or with an overlocker. And its Finished!!!!